Blooming Chenille Bias Strip Scarf
I Hope you all had a wonderful Thanksgiving and had the opportunity to enjoy it with family and friends.
My daughter and I did a little Black Friday shopping. We did not go at midnight or even 3am or 4am, but probably walked into our first department store around 7:30am. I don't believe there is anything that could drag me out any earlier than that! I did get a little of my shopping done but still have quite a bit more to do. Hope all of you had a pleasant experience if you did wonder out before the crack of dawn, from the news reports a few terrible incidents did occur.
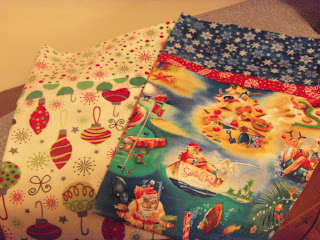
My stepdaughter from North Carolina came in for Thanksgiving and because she will not be able to come home for Christmas we celebrated Christmas early with her family and my other stepdaughter's family. I have to say the pillowcases were a big surprise and the grands seemed to like them very much! :)

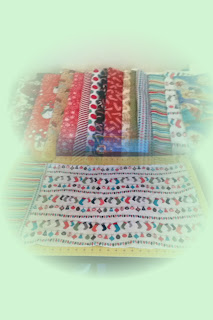
Last weekend I made a scarf out of the Chenille-It Blooming Bias Tape. I purchased mine here. I had seen this done on an episode of Sew It All, a creative television show on public television. It looked like a fun and interesting project so of course I had to try it out. They actually made a shawll, but I didn't want to make anything quite so large as my first project using this media so I decided on a scarf for one of my youngest grands. I think it turned out pretty good and it is like magic the way it blooms to life when machine washed! You can see the episode and follow the directions at Sew It All TV. Here are a few of things you will need to make this or any similar project.


 And of course your sewing machine and matching thread. Below are just a few steps on how I went about the process of making the scarf. This is not meant to be a tutorial, check out the Sew It All TV website for more detailed information.
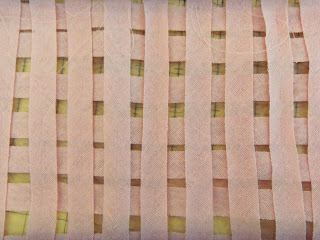
I made a pattern on the Solvy Water Soluble Stabilizer. Just measure as long as you want the scarf to be, point the ends and then draw your stitching lines. Starting on the lengthwise lines stitch pieces of the chenille strips making sure to stitch right down the middle of the strip. No need to backstitch the ends. After all the lengthwise strips are stitched, start on the crosswise strips.


 After you have finished these steps You will sew a strip all along the edge on the wrong side of the scarf. (simply turn it over and sew it to this side).
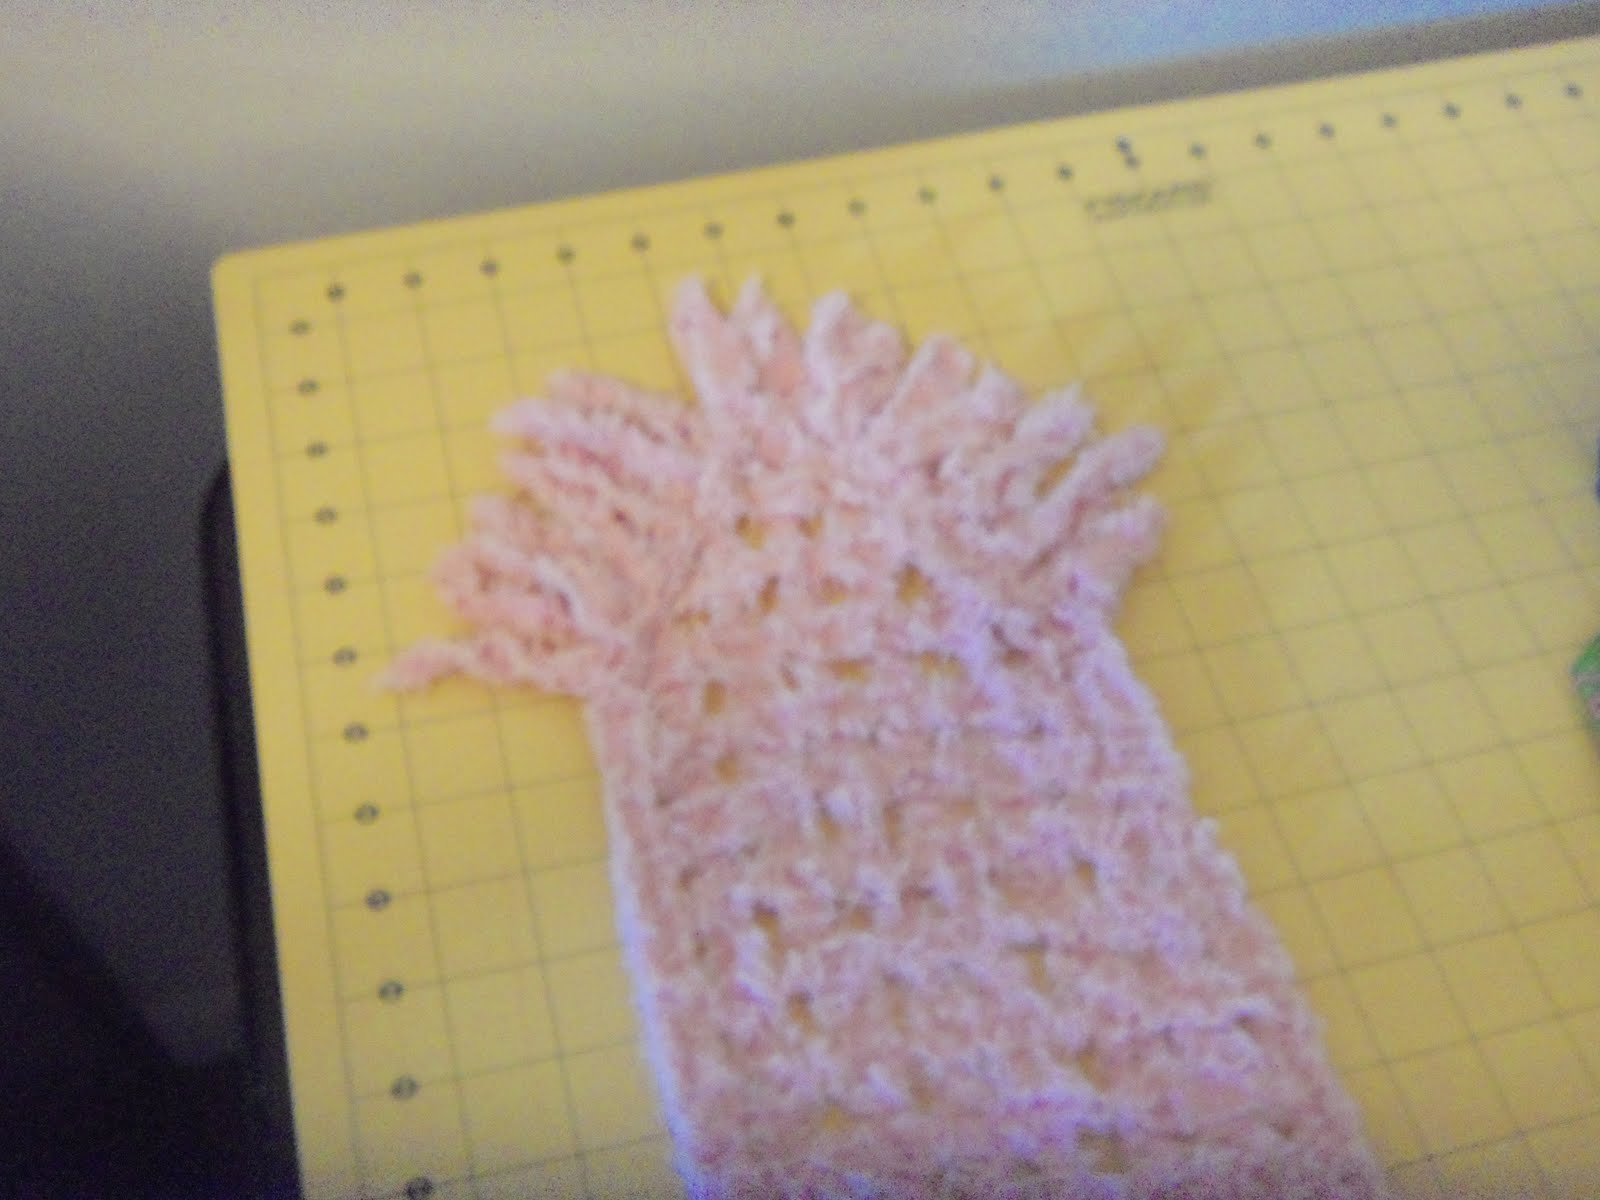
 Add the fringe to the edges, be sure to sitich down the middle of the bias strips before adding this or when you wash it the fringe will dissappear! Add the fringe and then add another strip to all edges this time on the right or top side. Trim it up and machine wash in cool water, and completely dry in a warm dryer.


I love it! You will need to go to Sew It All TV and follow the step by step directions. This is not meant to be a tutorial, just a general idea of what all you will need to do to create a cute project of your own. I am ready now to go on to much bigger and better things. This product is really neat and fun to sew! Hope you all try it and let me know what you made and how it turned out!!
Happy Sewing!
My stepdaughter from North Carolina came in for Thanksgiving and because she will not be able to come home for Christmas we celebrated Christmas early with her family and my other stepdaughter's family. I have to say the pillowcases were a big surprise and the grands seemed to like them very much! :)


Last weekend I made a scarf out of the Chenille-It Blooming Bias Tape. I purchased mine here. I had seen this done on an episode of Sew It All, a creative television show on public television. It looked like a fun and interesting project so of course I had to try it out. They actually made a shawll, but I didn't want to make anything quite so large as my first project using this media so I decided on a scarf for one of my youngest grands. I think it turned out pretty good and it is like magic the way it blooms to life when machine washed! You can see the episode and follow the directions at Sew It All TV. Here are a few of things you will need to make this or any similar project.


I made a pattern on the Solvy Water Soluble Stabilizer. Just measure as long as you want the scarf to be, point the ends and then draw your stitching lines. Starting on the lengthwise lines stitch pieces of the chenille strips making sure to stitch right down the middle of the strip. No need to backstitch the ends. After all the lengthwise strips are stitched, start on the crosswise strips.


I love it! You will need to go to Sew It All TV and follow the step by step directions. This is not meant to be a tutorial, just a general idea of what all you will need to do to create a cute project of your own. I am ready now to go on to much bigger and better things. This product is really neat and fun to sew! Hope you all try it and let me know what you made and how it turned out!!
Happy Sewing!

Comments